Use back button to return to previous page
Building A Bravewood...
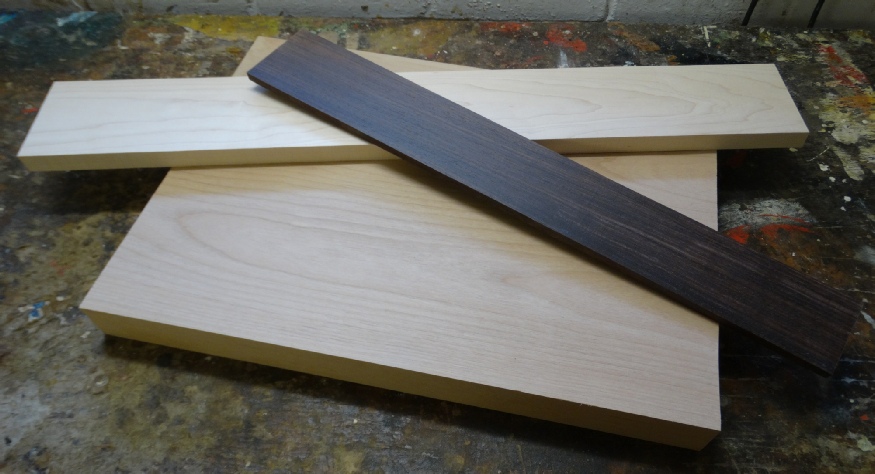
I have put this page together to demonstrate the process of turning some raw wood into a vintage replica guitar...and give anyone interested an insight to what is involved in hand making guitars. I am going to photograph each of the key steps of the journey of this pile of wood...!
The above pic is of an alder body blank, a maple neck blank and a rosewood fingerboard blank...the resulting instrument is going to be a heavily distressed early ‘60’s style S type...OK, let’s go....
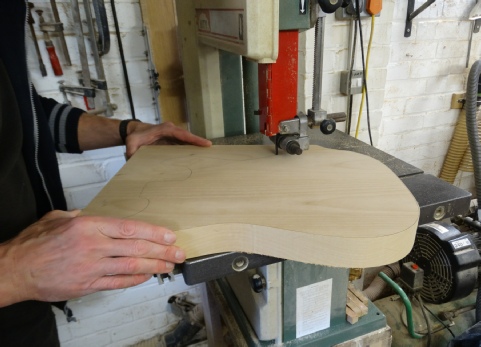
First job I normally do is mark out the body shape on the blank, then it’s to the band saw and the shape is roughly cut out, I cut about 1mm outside the line, this will be trimmed at the next stage.
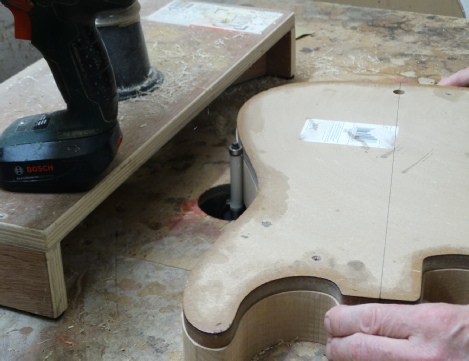
The body template is secured to the blank and a bearing guided router bit is used to trim away the excess wood...this is much the same way as was done back in the day when a pin router and template was used to shape the bodies in the ‘50’s and ‘60’s...
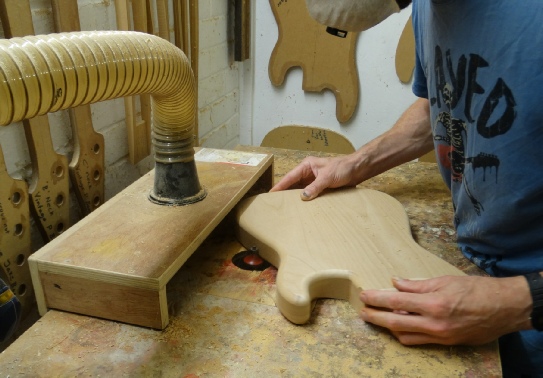
Once trimmed to shape, a rounding over or radius bit is used to round over the edges of the body...starting to get the classic look...!
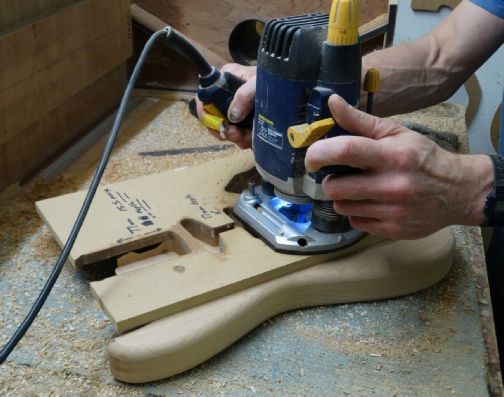
The next stage of the body making process is to rout the cavities for the pickups, controls, bridge, jack cup, etc.
Another template is fixed to the body and an electric router is used to remove the wood...a very messy and dusty job...!!
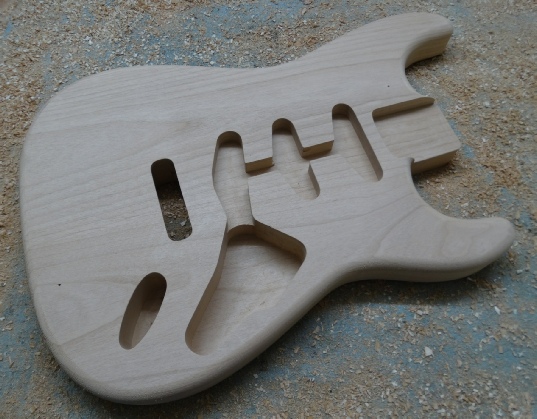
So far so good...this is where we are at the moment...the classic shape has emerged, holes all in the right places...
Next it’s time to start adding some contours....

The picture to the right is the forearm contour being cut, I use an electric hand plane. I mark out the shape I want roughly in pencil and then plane away the excess wood until I’m close to the shape I want.
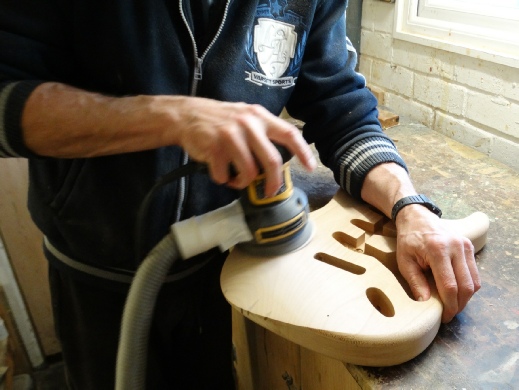
After the rough shape is planed onto the body, I use an electric hand sander to smooth everything over and give the contours their smooth flowing lines.
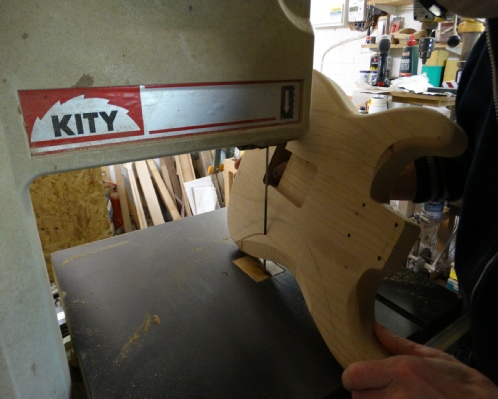
With the front contour sorted, I turn my attention to the back contour...
I start by cutting away the excess wood on the band saw, I do this in several shallow passes, it’s easier to gauge where you are. Trying to do it in one go is possible...but can lead to too much being cut away...it’s far easier to remove more wood than put it back when it’s gone...!!
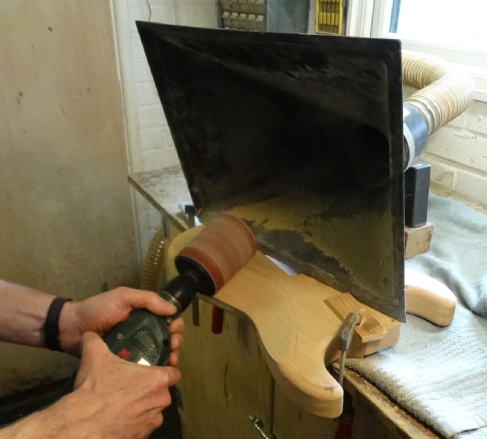
Once the back contour is cut roughly to shape, I use a drum sander in an electric drill to remove what’s left to go and smooth the contour...again, a very messy and dusty job, hence the dust extraction...
A steady and strong hand is required for this job, very easy to take away more than you want to...
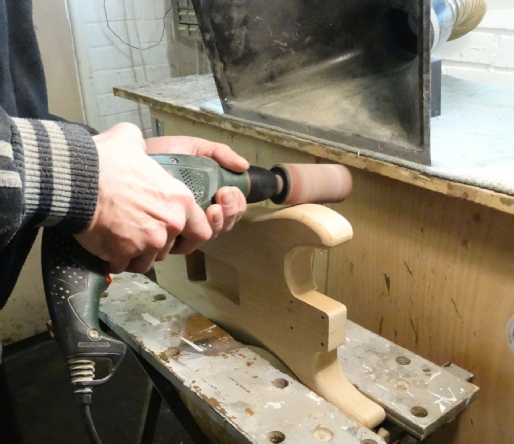
With the contours cut and shaped, the next stage is to tidy up the body edges, get all the lines flowing into each other, take out any router chatter marks, etc.
This is also done with various sizes of drum sander in the drill, once again a steady hand is required...!!
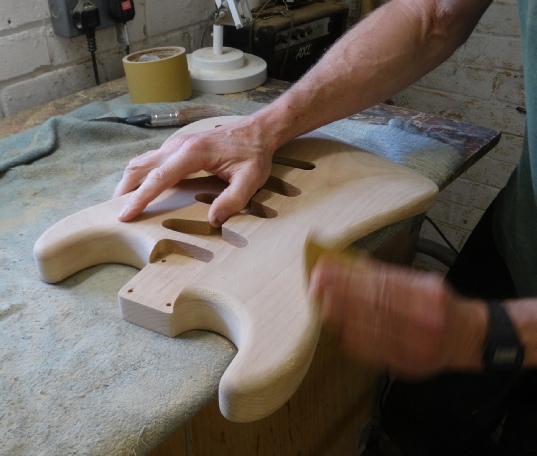
When I have done as much as I can with the drum sander, it is literally down to the final fettling with abrasive paper, course to do the final shaping and then getting progressively smoother as the body is prepared for the next stage...which is the finish being applied.
The hand sanding stage can take several hours...I am a real stickler for things being spot on. The contours have got to be absolutely right, smooth and flowing.
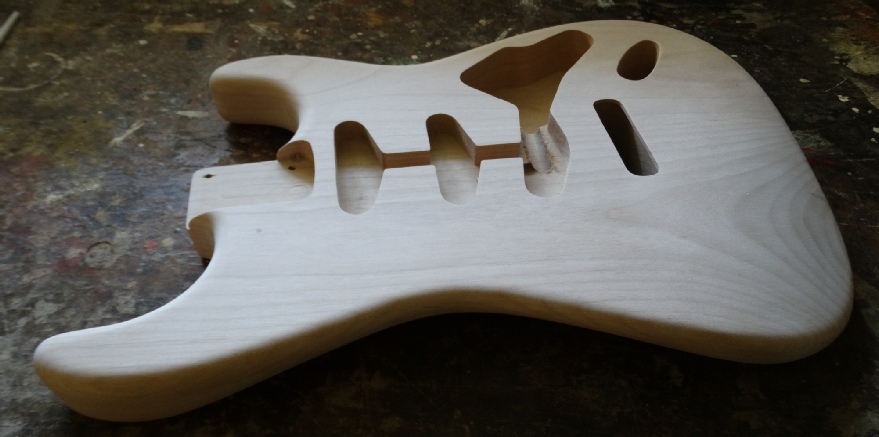
So after literally hours and hours of work...we end up with a beautifully smooth and ready to finish body...
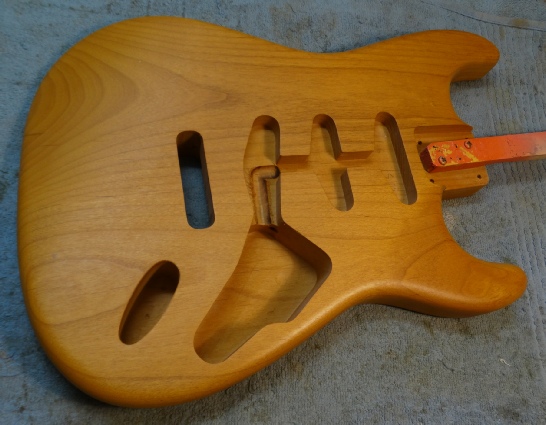
And so onto the finishing stage..!
As this is going to be a sunburst instrument, the first stage is to stain the body with the yellow that will form the basis of the sunburst, back in the day sunburst bodies were dipped into a vat of yellow stain, as I don’t have a big enough receptacle to dip bodies, I just spray the stain...!, works perfectly well...
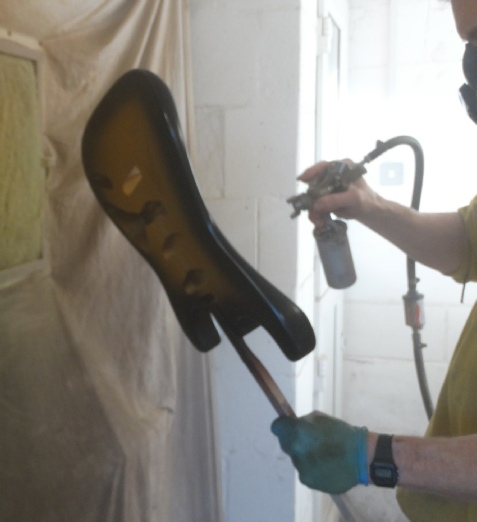
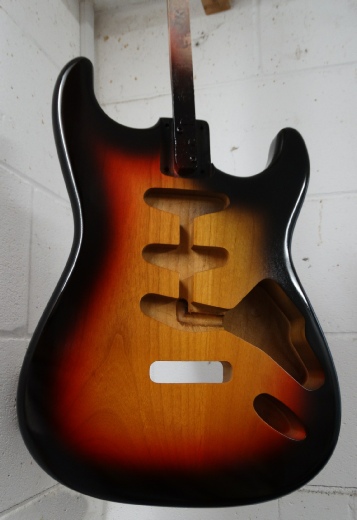
The above pictures show me spraying the sunburst (right hand pic), and the left hand pic is the finished sunburst, there were still several clear coats of lacquer to go...but it was just about there...looking cool...
So with the body just about done...time to move onto other parts of the build...
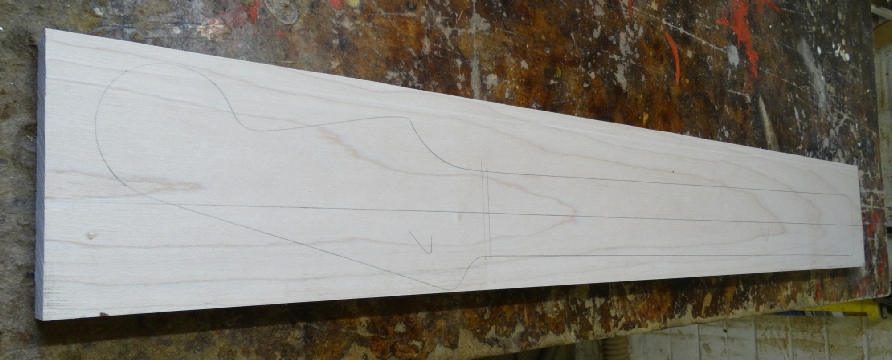
Above is the maple neck blank marked out, the first job to do before anything else is cut is to rout the truss rod channel, see below pic...


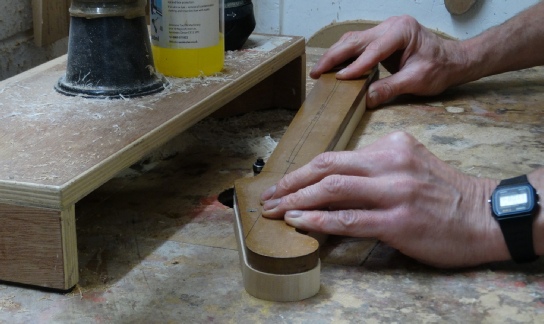
Much like the body above, the neck shape is roughly cut out on the band saw, then a template is attached and the blank is shaped using the guided router bit (again, just like in the old days)
A steady and strong hand is required again as it’s easy for the router bit to ‘grab’ the wood and to get ‘tear out’ on the edge of the maple to the point it’s not usable...
Once done we end up with the blank cut to shape with the truss rod channel already cut...
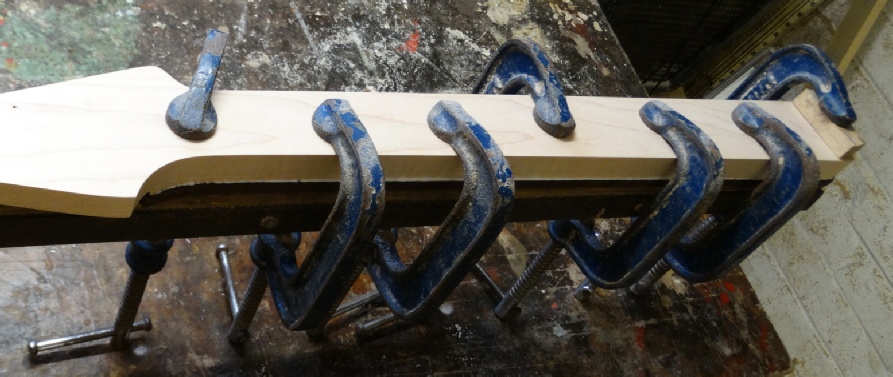
The headstock is then cut to thickness on the band saw and the rosewood is prepared and glued onto the neck...
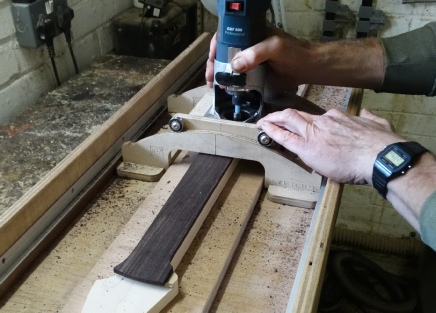
Once the glue has dried, the fingerboard edges are trimmed and the radius is cut, 9.5” in this case. This is done using the jig pictured to the right.
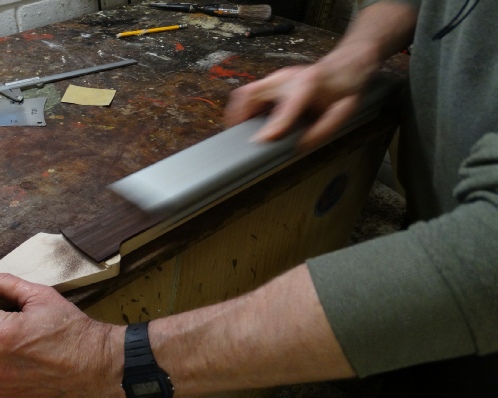
The radius is finished off by hand using a radiused sanding beam. The fingerboard is checked using straight edges and radius gauges to ensure everything is correctly cut and sanded.
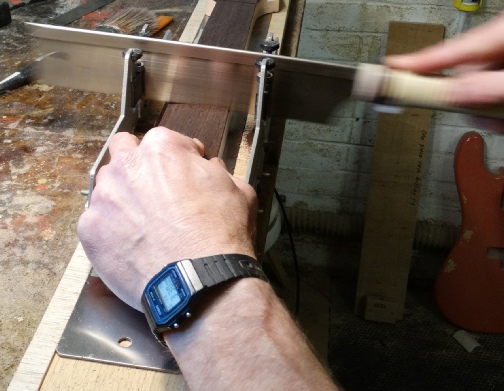
Once I am happy with the radius, the next stage is cutting the fret slots, this is done using yet another jig.
The depth of the slot is cut by eye and experience...done this once or twice over the years...!!
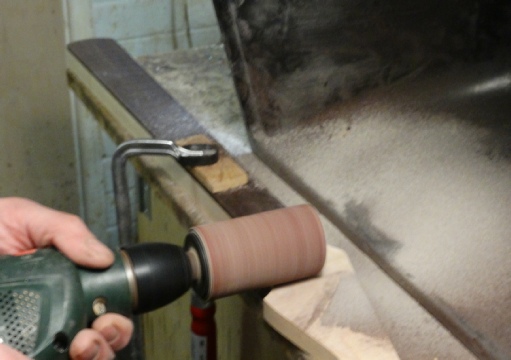
Once again my drum sander is pressed into action to remove the excess wood behind the nut, a strong and steady hand is definitely required for this procedure as it is very easy for the drill to slip and for the sander to plough into wood it’s not supposed to..!!
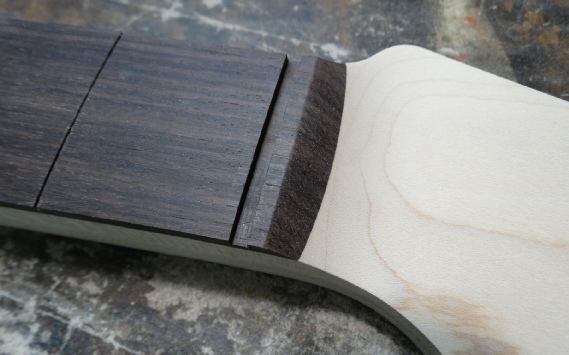
The join behind the nut has the vintage correct convex curve (for a slab board, veneer join boards have the reverse..!)
I have always included this feature in my necks, and I have been surprised to see even some £6,000 replicas that have the straight join in this area, which to my eye makes it look like a cheap repro neck...as ever, it’s all about the details...
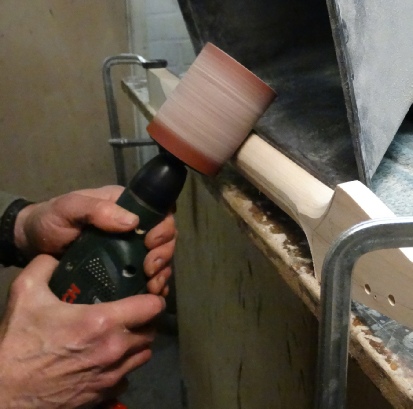
Onto the next stage which is adding some tuner holes...done on my drill press...
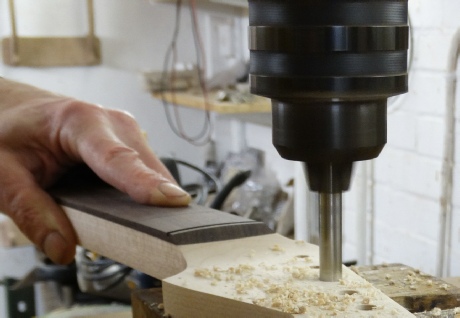
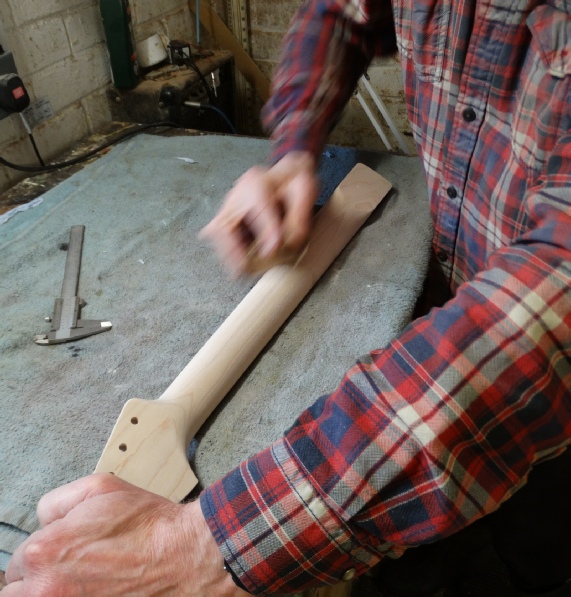
Again, like the body contours above, excess wood is trimmed from the back of the neck using the band saw and the drum sanders are once again used to get the shape close to what I want.
From there it will be hand sanding again, using a block and then abrasive paper around my fingers to achieve the final result.
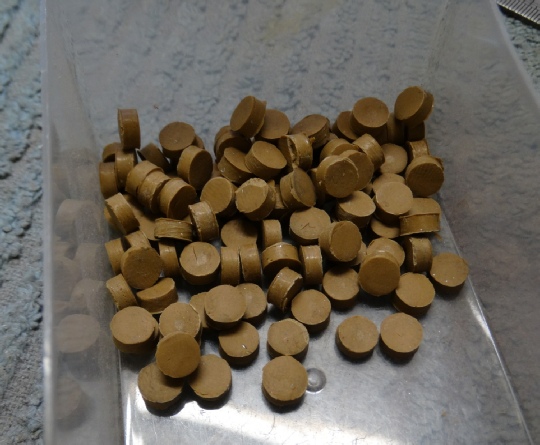
In order to get the right appearance and vibe, I fit clay dots, I make my own so I can get the colour and look that I want.
I drill the quarter inch holes in the appropriate places and tap them into position, they are then sanded flush with the fingerboard prior to the frets going in...
The dots look a bit ‘whiter’ in the pic below than they are in reality...
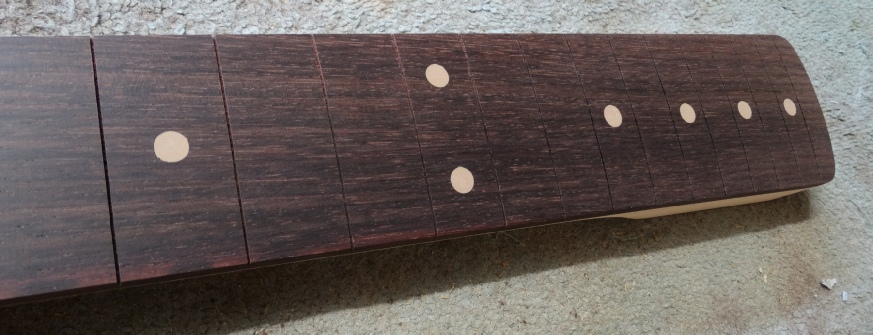
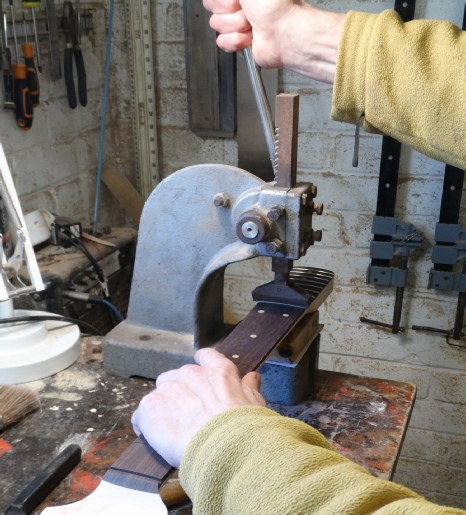
At this stage I’m just about done with the neck, other than the finishing...here I am using an arbour press to install the frets.
Once seated properly, the frets ends are trimmed, the ends are bevelled to about 30 degrees...and it’s just about ready for the final sanding before the spraying stage.
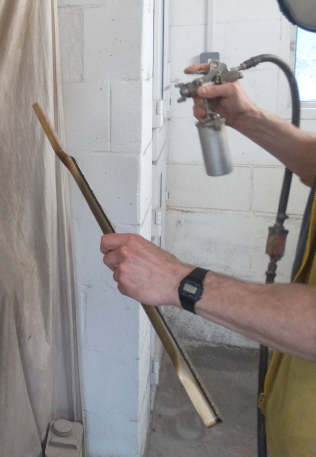
The neck is fine sanded, the shape and feel is carefully checked to make sure the shape I want has been achieved...and then the spraying procedure is started.
The fingerboard is masked off (for rosewood boards) and the neck is coated with several thin layers of nitro.
It will then be hung up for several months while the nitro cures.
As both body and neck are now made and sprayed...time to turn my attention to the parts and hardware...

With the body and neck now hanging up waiting for the nitro to cure and harden off...I will make a start on the pickguard.
For a ‘60’s style S type, I will use a 3 ply mint green pickguard material. I use one that is as close to the ‘60’s look and thickness I could find.
The shape is marked out on the blank and then cut out on the band saw.
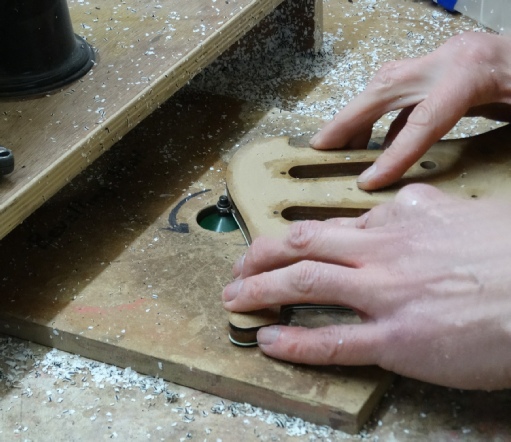
The cut out guard is attached to a template (based on a real vintage guard) and the edges trimmed, I then use a bevelled cutter to achieve the 30 degree angle that these guards had.
Although quite common nowadays, back when I first started doing this over 20 years ago, no one I knew of made reproduction guards with a 30 degree bevelled edge...I was amongst, if not the first to do it. It has since been widely copied...but nice to know I was a trail blazer...!!
The pickup holes are routed out and the holes for the screws and pots are drilled...
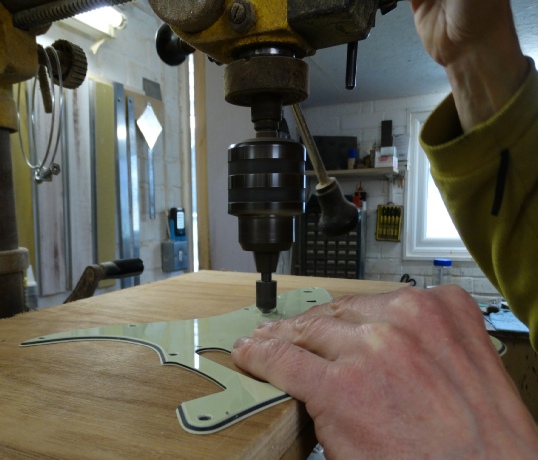
Once the holes are drilled and everything is just about done, I countersink the screw holes on the drill press...
A little notch by the truss nut will be added shortly...
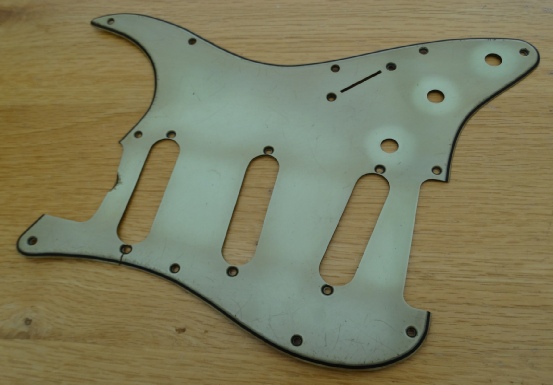
Once made, the guard is aged using various techniques, stains and dyes, the guard is lightly warped to give it the slightly uneven look real vintage guards acquire with time.
A small crack has also been added on the edge of the guard where the neck pickup screw is located, again this is often seen on real vintage guards...
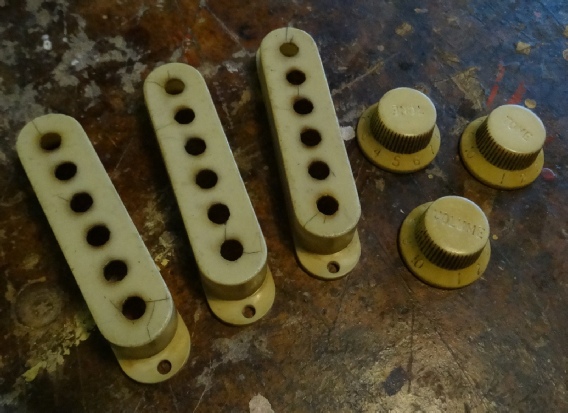
Along with the pickguard, the other plastics are also aged, knobs are made to look dirty and used...and in this case missing the metallic paint from the letters and numbers...it’s not unusual to see this missing on vintage knobs...
The pickup covers are made to look worn, scratched, lightly cracked and discoloured...
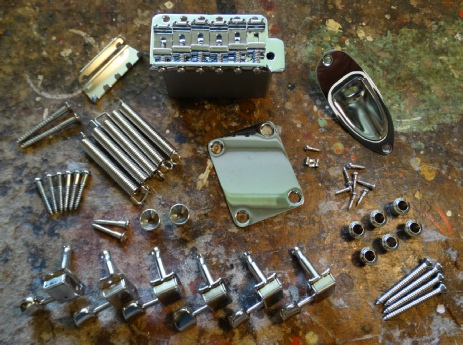
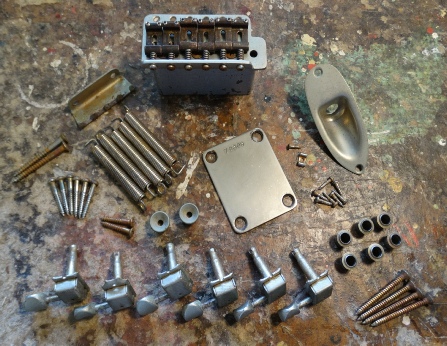
The metal parts are also aged to suit the build (new on the left, and after it’s been through the Bravewood ageing process on the right), this is done with a variety of techniques using various chemicals and acids...it can be a hazardous procedure so a lot of care must be taken.
I don’t wire wool parts as many do in this field, this gives a scratchy fake look to the metal which is not pleasing to look at, I prefer a nice even dulled look...
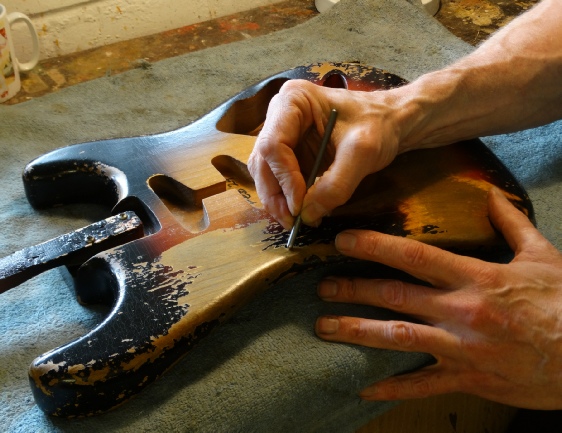
Adding some fine ageing/distressing detail to the body...
I haven’t pictured the actual ageing process I use, I know for a fact a lot of my competitors frequent my site, I have seen whole paragraphs of text simply copied and pasted from my site onto other people’s, so if they’re willing to steal my words...I’m sure they’ll have no trouble using my techniques...!!
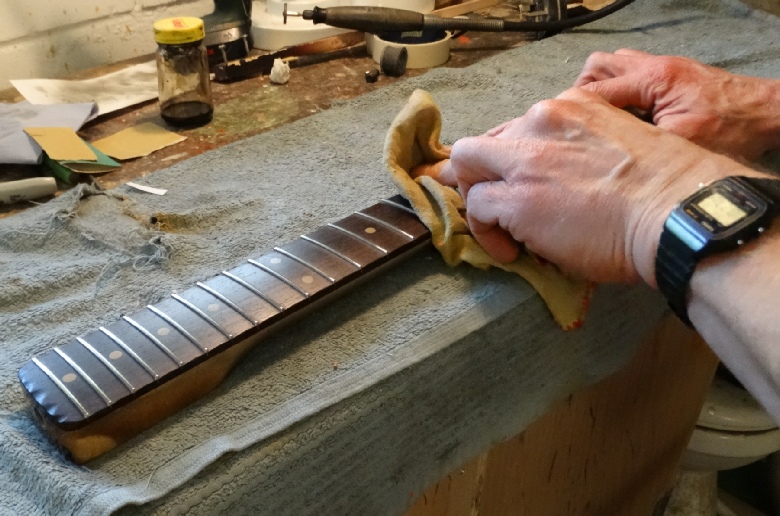
Below I am just finishing off the neck, polishing the frets/fingerboard...
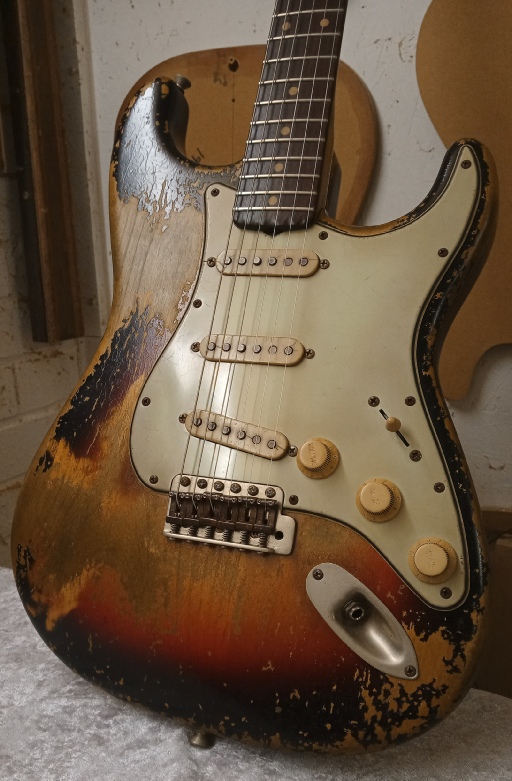
And here it is all assembled, set up and ready to rock’n’roll....! The guitar plays beautifully, is resonant and looks cool as they come...
I have now been building vintage replica guitars for well over two decades now and have acquired a wealth of knowledge on building these classic looking guitars. I have worked hard and continue to do so to achieve results that equal or surpass ANYTHING that is available anywhere...at any price.....
Most other vintage replica guitar makers/manufacturers use bought in ready made bodies and necks, they will often carefully word their websites to say things like ‘made in the UK’, when it would be more accurate to say ‘assembled in the UK’, another classic I’ve seen...’hand shaped’, not ‘hand made’, so basically made on a machine and then sanded before the finish is sprayed..! I know of several very prominent replica builders who employ these tactics. Even the top end factory boutique guitars, supposedly made by individual master luthiers are cut out on CNC machines.
Indeed, CNC machines have come down in price considerably in recent years, putting them well within the scope of ownership of even one man businesses...however, to me ‘building’ a guitar is about the hands on experience detailed above, I will never make guitars using CNC technology. The process detailed above is pretty much how I’ve built guitars from the very start, so if you own a Bravewood guitar...that’s how it was made.....
Click HERE to see more detailed pictures of this guitar...